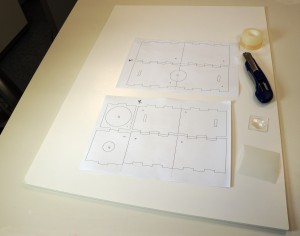
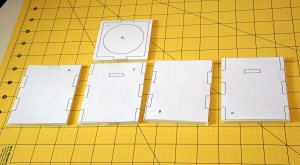
1. Dowload the template here and print it (be sure that you do not scale the document)
2. You will need:
- A cutter
- Adhesive tape
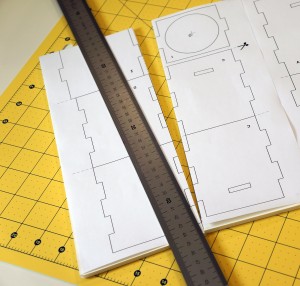
- A (preferably metal) ruler
- BLACK foam core cardboard (5 mm width) (approximately 30 x 40 cm). Altough the instructions show white foam core, black would be more recommendable.
- A plastic lense (27 mm diameter, 80 mm focal lenght). You can get it here.
- Translucent paper (at least 7 x 7 cm )
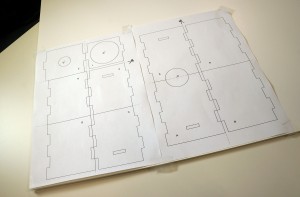
3. Tape the template on the foam core.
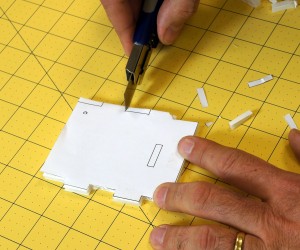
4. Cut the template using the cutter and following the lines.
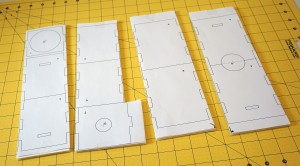
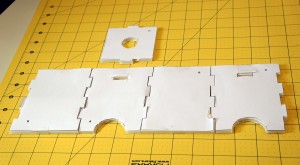
5. Cut the four main pieces.
You might tape again the template on the foam core
as you are cutting them.
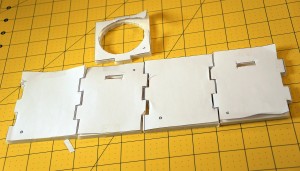
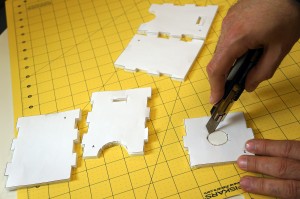
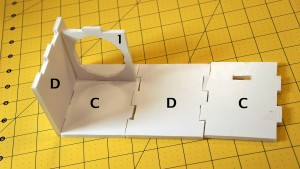
6. Take the D, D, C, C and the 1 pieces and cut them all.
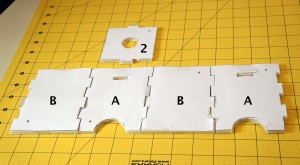
7. Do the same for the A, A, B, B and the 2 pieces.
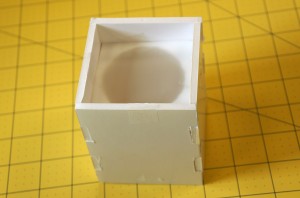
8. Mount the D, D, C, C and the 1 pieces (you can use either adhesive tape or glue).
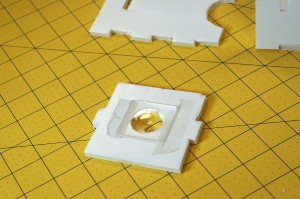
8. Tape (or glue) the plastic lense to the 2 piece (the one
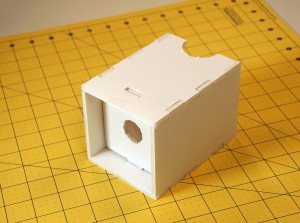
with the smaller hole) and then mount the B, B, A, A and the 2 pieces.
9. Tape or glue the translucent paper to the 1 piece
(the one with the bigger hole).
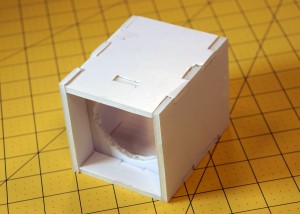
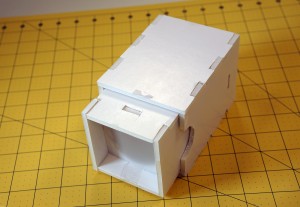
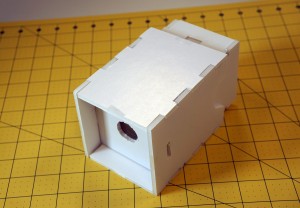
10. Place both parts of the toy camera together.
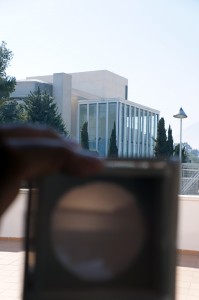
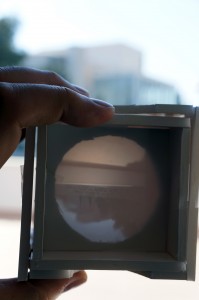
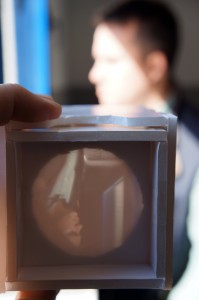
10. You can use it now.
Slide out the smaller part to focus closer subjects.

